Happy 2018! I hope everyone had a wonderful holiday season. Mine was full of family and way, way, way too much delicious food. As a result, I’m doing that typical thing where, now that the holidays are over and a new year has commenced, I want to re-commit to health and fitness. However, I decided that before I really started committing, I needed to make something warm and hearty to start the new year off right — especially in the frigid cold we’re currently experiencing in New York! If you are trying to stick to a new year’s resolution, I’m going to apologize in advance for being a bad influence and encouraging you to indulge in this warm, classic beef stew this weekend.
I’ve actually posted this recipe once before in 2012 and funny enough, I also made it on New Year’s Day! My passion for cooking was still relatively new six years ago and I was nervous to cook this “ambitious” recipe by Julia Child (it really is an all-day event). The reason I decided to post this recipe again is not only to remind you that it is truly delicious, but also to update the pictures.
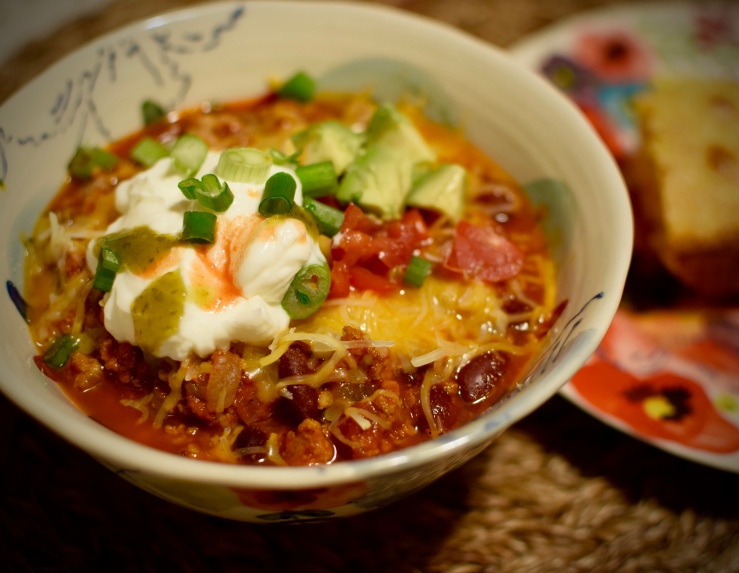
This year for Christmas, my wonderful husband bought me a Neewer lighting kit so that I can try to improve my photos. I know I haven’t been blogging often, but I have still been attempting to take pictures of my food over the last few months and I always end up complaining to Mike about the terrible light in our apartment. Our kitchen only has one half-window so in order to get natural light I bring the food into our living room or dining room. But, right now the sun sets at 4 PM, so I am basically never cooking in the daylight anyway! This usually results in photos with an ugly yellow-y tinge to them (refer to my last post).
Now, I am equipped to try and obtain higher quality images and really tempt you with the recipes I post! I still have a lot to learn about photography in general and the DSLR camera that Mike bought me last year. But with all this awesome equipment, I’m doing more research to try and understand how to capture and edit more true-to-life and stylized photos of the food that I cook!

Anyway, I wrote way more than I like to so I’ll get down to the recipe:
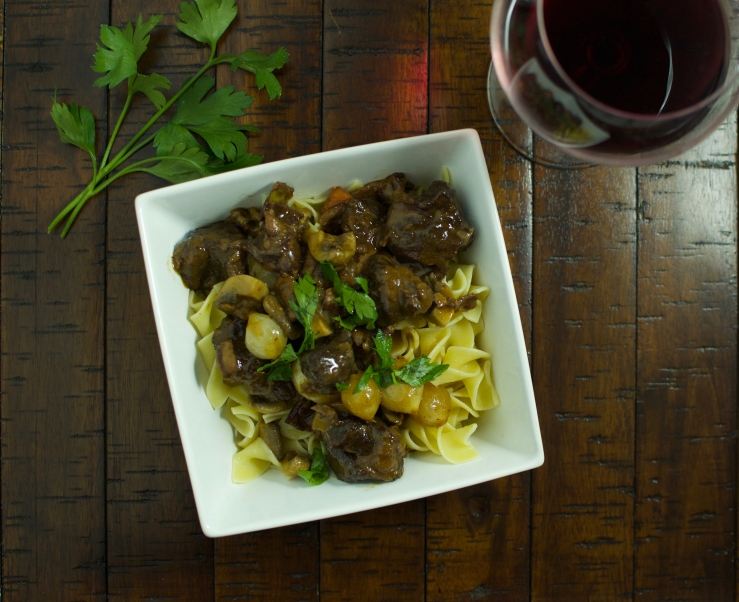
Julia Child’s Beef Bourguignon
Ingredients:
- 1 6-oz. piece chunk bacon*
- 3 Tbsp. olive oil
- 3 lbs. lean stewing beef, cut into 2-inch cubes (I used beef chuck)
- 1 carrot, sliced
- 1 onion, sliced
- salt and pepper
- 2 Tbsp. flour
- 3 cups red wine
- 2 1/2 cups beef stock
- 1 Tbsp. tomato paste
- 2 cloves mashed garlic
- 1/2 tsp. thyme
- 1 crumbled bay leaf
- 18-24 small white onions
- 3 Tbsp. butter
- herb bouquet (4 parsley sprigs, half a bay leaf, 2 thyme sprigs tied in cheesecloth)
- 1 lb. fresh mushrooms, quartered
Method:
Remove bacon rind and cut into lardons (sticks about a 1/4-inch thick and 1 1/2-inches long). Simmer rind and lardons for 10 minutes. Drain and dry.
Preheat oven to 450 degrees.
Sauté lardons in 1 tablespoon of the olive oil in a Dutch oven over moderate heat for 2 to 3 minutes to brown lightly. Remove to a side dish with a slotted spoon.
Dry beef in paper towels; it will not brown if damp. Add beef to Dutch oven, a few pieces at a time, and sauté until nicely browned on all sides. Set aside with the lardons.
In the same fat, brown the sliced carrot and sliced onion. Pour out the excess fat.
Return the beef and bacon to the Dutch oven and toss with 1/2 teaspoon salt and 1/4 teaspoon pepper.
Then sprinkle on the flour and toss again to coat the beef lightly. Set Dutch oven uncovered in middle position of preheated oven for 4 minutes. Toss the meat and return to oven for 4 minutes (this browns the flour and coves the meat with a light crust).
Remove Dutch oven and turn oven down to 325 degrees.
Stir in wine and about 2 cups stock, just enough so that the meat is barely covered.
Add the tomato paste, garlic, herbs and bacon rind (if you used the chunk bacon). Bring to a simmer on top of the stove.
Cover Dutch oven and set in lower third of oven. Allow liquid to simmer very slowly for 2 1/2-3 hours. The meat is done when a fork pierces it easily.
While the beef is cooking, prepare the onions and mushrooms:
Heat 1 1/2 tablespoons butter with 1 1/2 tablespoons oil until bubbling in a skillet.
Add small white onions and sauté over moderate heat for about 10 minutes, rolling them so they will brown as evenly as possible. Be careful not to break their skins. You cannot expect them to brown uniformly.
Add 1/2 cup of the stock, salt and pepper to taste and the herb bouquet.
Cover and simmer slowly for 40 to 50 minutes until the onions are perfectly tender but hold their shape, and the liquid has evaporated. Remove herb bouquet and set onions aside.
Wipe out skillet and heat remaining oil and butter over high heat. As soon as you see butter has begun to subside, indicating it is hot enough, add mushrooms. Toss and shake pan for 4 to 5 minutes. As soon as they begin to brown lightly, remove from heat.
Back to the Dutch oven:
When the meat is tender, use a slotted spoon to transfer the beef, lardons, carrots and onions to a separate dish. Pour the remaining contents of the Dutch oven into a sieve set over a saucepan.
Wash out the Dutch oven and return the beef, lardons, and vegetables to it. Distribute the cooked onions and mushrooms on top.
Skim fat off sauce in saucepan. Simmer sauce for a minute or 2, skimming off additional fat as it rises. You should have about 2 1/2 cups of sauce thick enough to coat a spoon lightly. If too thin, boil it down rapidly. If too thick, mix in a few tablespoons stock. Then pour sauce over meat and vegetables and enjoy!
How I eat it: This time: over egg noodles; Last time: with a crusty whole wheat bread
Again, I promise you all the work is well worth it 🙂 And according to Mike, the leftovers are even better!
Also, here’s a before and after my recently-learned color correction (and some cropping), using a color card and Photoshop, so you can see how much the kit has helped me so far!
Before:
After: